Overview: This article will introduce the process of adding a Foscam camera by entering its UID number to the Foscam app.
Note:
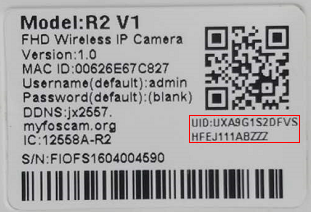
To prepare for this configuration the UID must be documented for the camera. The number is usually located on a label on the bottom or the side of the camera. Be sure all the numbers and letters are correct otherwise it will be impossible to add the camera using this method.
Step 1: Launch the Foscam app from your smart device and log into the Foscam cloud account.
Click the + icon too add a new camera to the account.
Click “No QR Code”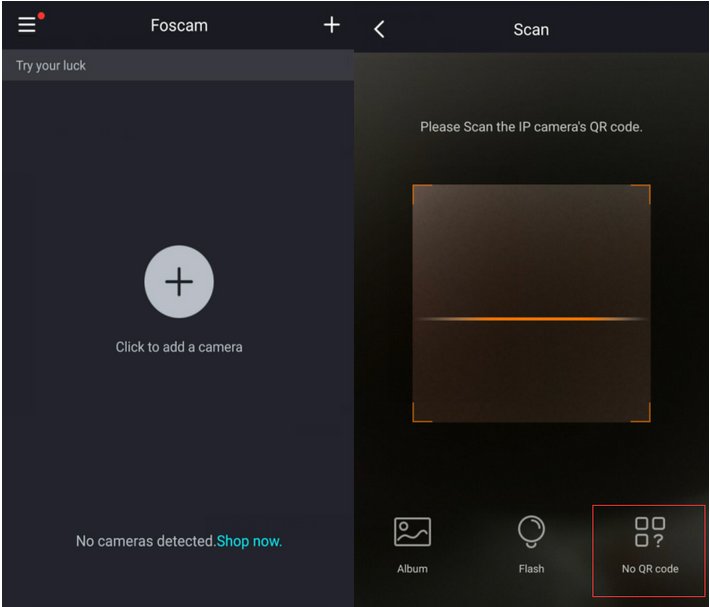
Step 2: Enter the UID/DDNS/IP of the camera to be added manually
Note: Alphabetical characters for the camera must be entered capitalized otherwise this process is going to fail. Once all of the characters have been entered click OK.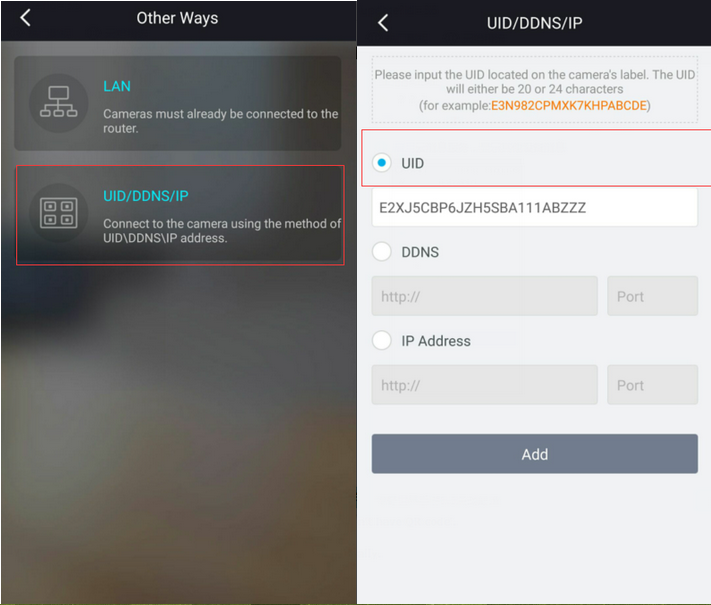
Step 3: Enter the username and password for the camera.
In the Security Settings input the username and password of the camera.
Click OK and standby for the camera to be added. (This process may take up to two minutes.)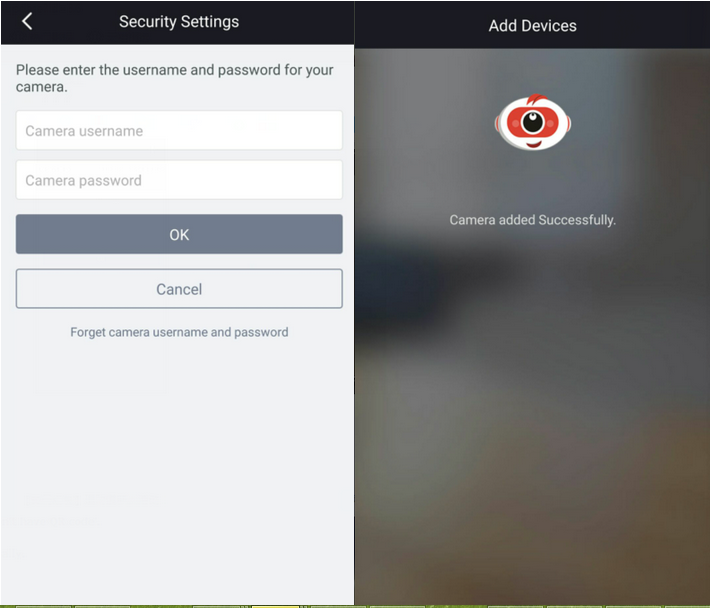
Step 4: Log-in to the camera to view live video
Note: If the camera has been recently reset or is brand new you will be prompted to enter a new username and password for the camera. Once this is completed you will be able to view the video feed from the camera.
After the process is completed select the recently added camera and press the Arrow (Play) button.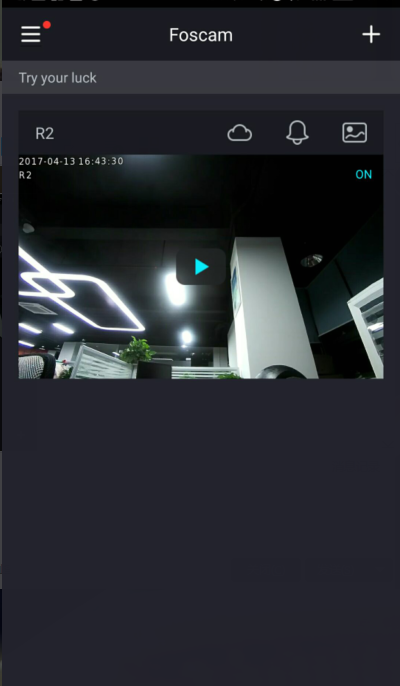
Note: The maximum username is 20 characters in length including letters, numbers and symbols _-@$*
The length of the password should be 6-12 letters, numbers and combinations of symbols. Symbols supported are ~ ! @ # % * ( ) _ = { } “ | <> ? ` - ; ’ , . /