
Overview: This article will introduce the process of adding a Foscam camera to the app while it is connected to the local network by an Ethernet cable or wireless.
Pre-condition: The cellphone must already be connected to the same local network as the camera and the camera should be connected to the local network by an Ethernet cable or wireless as well.
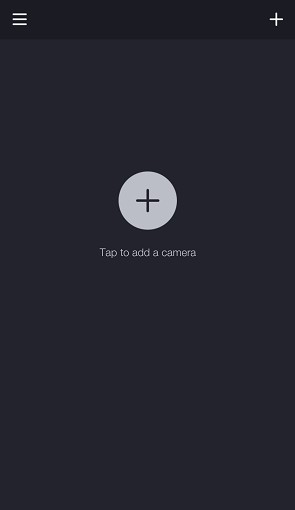
Step 1: Launch the Foscam app and log in to the Foscam Cloud account.
• Click the + button to add a new camera to scan the QR code located on the bottom or back of the camera.

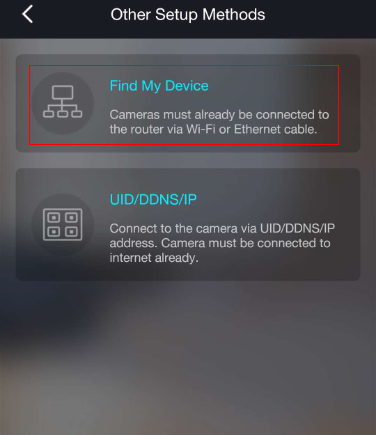
Step 2: Click LAN
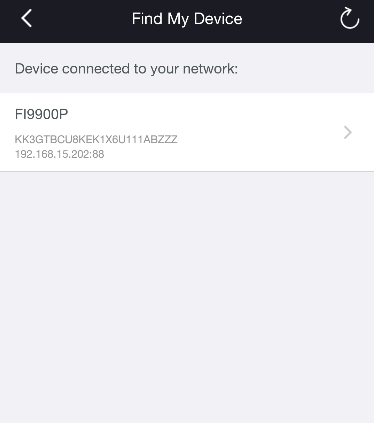
• The app will now search the LAN for cameras that are connected to the same router as the smartphone/device.
• Once the camera appears on the LAN camera list select the appropriate camera.
Step 3: Input the camera username and password.
• Under Security Settings input the username and password of the camera being added.
• Click the OK button and wait up to two minutes for the camera to be added to the app.

Step 4: Log-in to the camera to view the video feed.
• Once the camera has been successfully added click on the Play button to view live video feed.
• If the camera is new or has been factory reset you may be prompted to enter a new username and password for the camera.

Note: The maximum username is 20 characters in length including letters, numbers and symbols _-@$*
The length of the password should be 6-12 letters, numbers and combinations of symbols. Symbols supported are ~ ! @ # % * ( ) _ = { } “ | <> ? ` - ; ’ , . /